Prenatal Pelvic-Floor (Kegel) Training
A no-equipment drill that trains your pelvic floor to do two things equally well: clench on command, and just as important, let go completely. That coordination is exactly what your body leans on through pregnancy, birth, and the recovery after.
Why it works
Your pelvic floor is a sling of muscle holding up your growing uterus, bladder, and bowel against a downward load that only gets heavier as pregnancy goes on. Training it is one of the rare prenatal interventions that has real evidence behind it: supervised pelvic-floor training during pregnancy is tied to a lower chance of urinary incontinence in late pregnancy and the early postpartum weeks, and Cochrane reviews call that benefit moderate-certainty for first-time mothers who train before delivery. The mechanism is unglamorous strength and motor control: thickening the levator ani muscle group and sharpening its timing so it can hold load and seal the urethra shut the instant you cough, sneeze, or laugh too hard at something. Here's the part people skip. Learning to fully release the muscle matters just as much as the squeeze, because a floor that never lets go can feed pelvic pain and make the pushing stage harder, not easier. The evidence that this shortens or eases labor itself is weaker and mixed, so don't oversell it to yourself. This drill is about staying dry and building body awareness, not promising you a faster birth.
How to do it
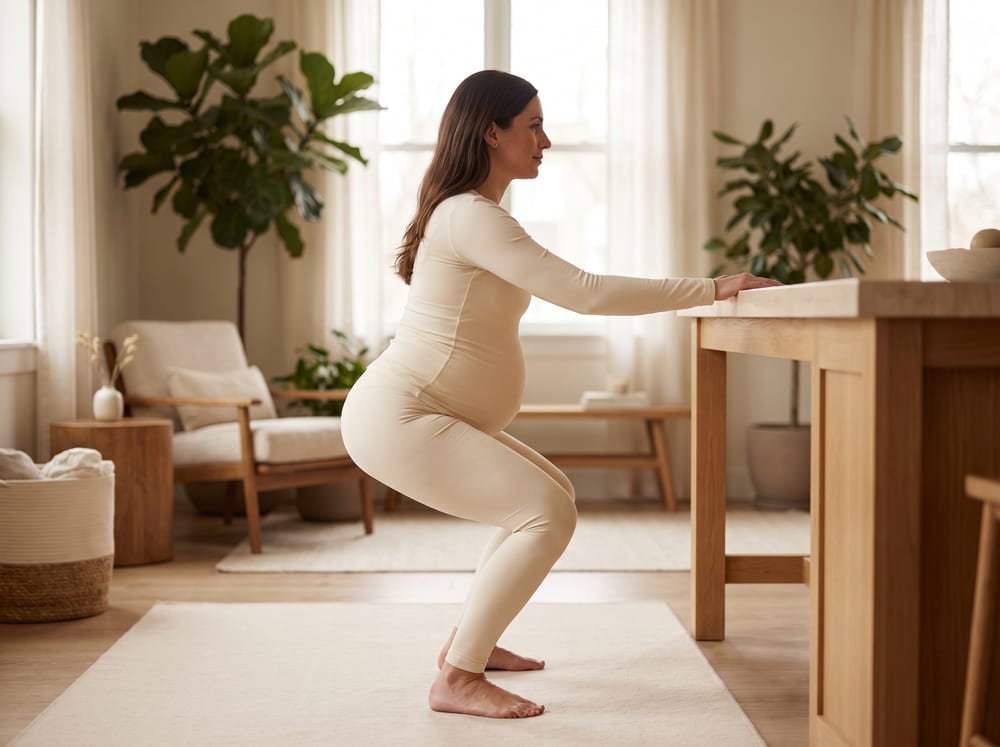
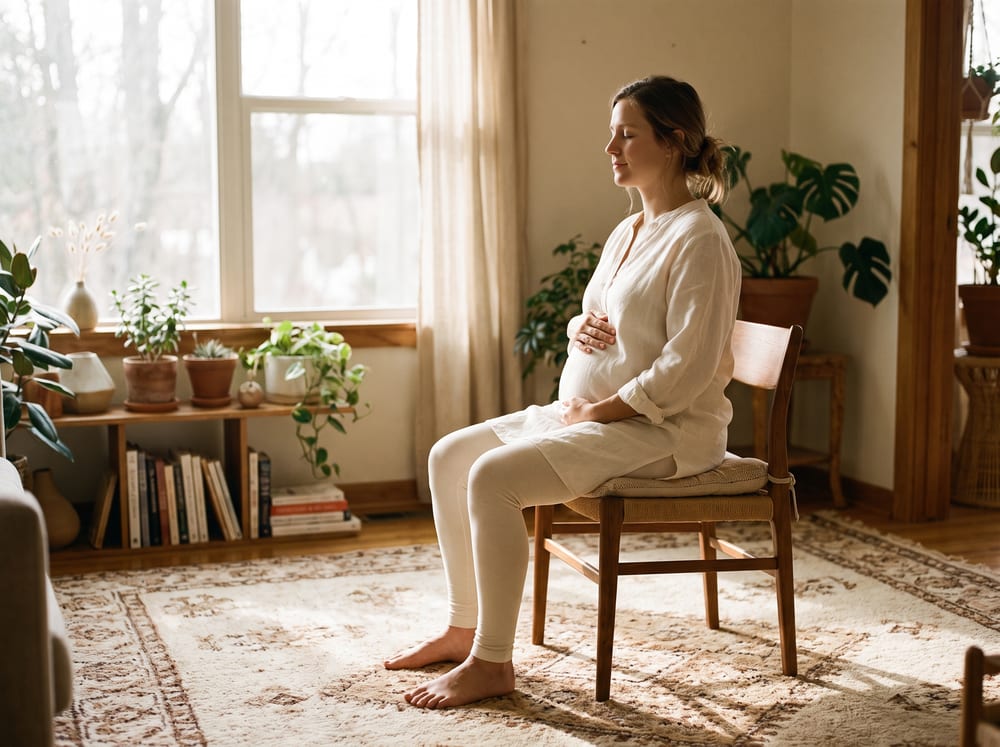
- Sit tall on a firm chair or stand upright, or in later pregnancy sit on a birth ball, with your spine long and shoulders relaxed. Avoid lying flat on your back for this drill after the first trimester.
- Exhale gently and draw the muscles around the vagina and anus up and inward, as if stopping the flow of urine and holding back gas at the same time, without clenching your buttocks, thighs, or holding your breath.
- Hold the lift for 3 to 5 seconds while breathing normally, then consciously and fully let the muscles go, letting them lengthen and relax completely. The full release is the part most people skip.
- Repeat for a set of slow, long holds, keeping the belly, jaw, and breath soft throughout.
- Then perform a set of quick flicks: a fast lift-and-full-release once per second, training the rapid response the floor uses during a cough or sneeze.
Dose: 10 long holds (3-5 seconds each with full release) plus 10 quick flicks, 2-3 rounds per day. The release counts as much as the squeeze, every single time.
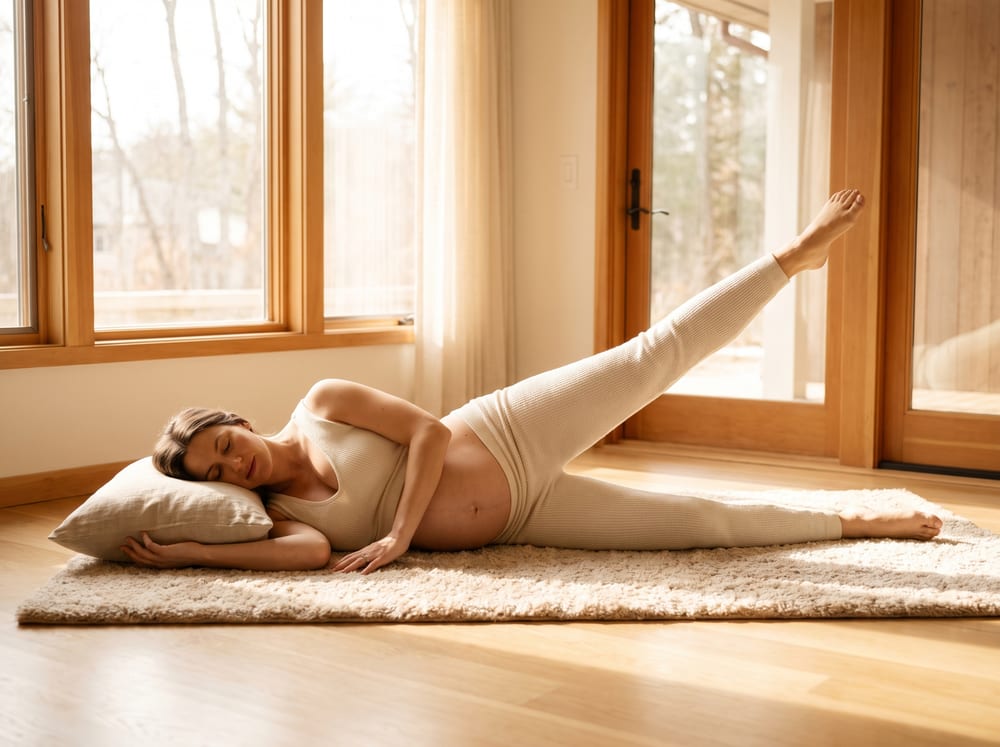
⚠ Educational content for discussion with your clinician, not medical advice. Get clearance from your OB provider, midwife, or a pelvic-floor physical therapist before starting, especially if you have pelvic pain, a history of pelvic-floor dysfunction, or any pregnancy complication. Never hold your breath or bear down. If you feel pain, cannot tell whether you are contracting correctly, or notice you can lift but not fully release, ask for a referral to a pelvic-floor physical therapist for hands-on assessment. Trimester modifications: first trimester, this can be done sitting, standing, or side-lying. Second and third trimesters, avoid lying flat on your back; sit upright, stand, or use a birth ball, and focus increasingly on the release phase as the floor bears more load. Postpartum, resume only once cleared, typically starting gently and progressing under guidance.