At-Home IPL Hair Removal
Here's the mechanics: an at-home IPL device fires broad-spectrum pulses of light at your skin. The melanin sitting in the hair shaft soaks that light up and converts it straight to heat. That heat runs down the hair into the follicle and damages the structures responsible for growing the next one, pushing the follicle toward a dormant, finer-growth state the more sessions you put in. This only works because it's chasing pigment, so it needs contrast: dark hair against lighter skin, so the light goes for the hair and not the skin around it. Light-to-medium skin with dark hair is the sweet spot. Blonde, red, grey, or white hair? There's no pigment there to grab onto, so IPL barely does a thing.
Why it works
Moderate. Does home IPL reduce hair? Yes, manufacturer studies say so, and a growing pile of independent trials backs it up: real, measurable reduction over weeks of consistent use, running on the same light-and-pigment principle as the machines in a clinic. Is it as strong as a clinic laser? No. Home units are lower-powered than clinic lasers. Results swing hard depending on your device, skin tone, and hair color, and what you get is long-term reduction and slower, finer regrowth, not permanent removal. Maintenance sessions are just part of owning one. And for very dark skin tones or light-colored hair, the evidence gets thin to nonexistent: most home IPL barely works there, and on darker skin it carries a real burn risk.
How to use it
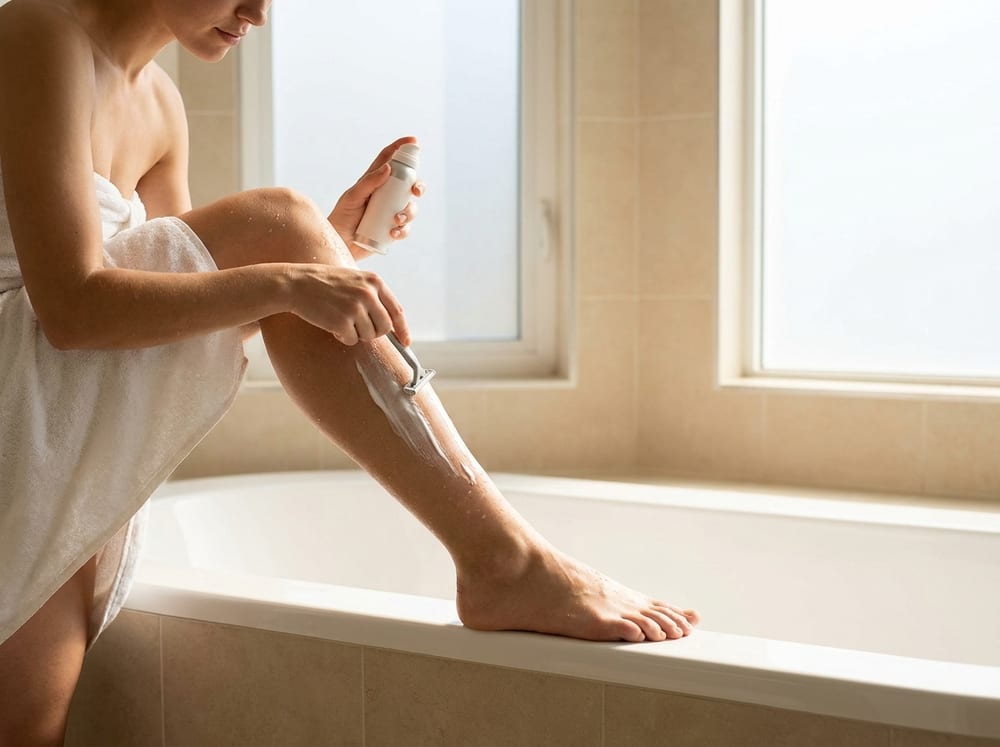
- Shave the area clean. Skin needs to be dry, bare, and free of lotion, deodorant, or makeup. Do not wax or pluck: IPL needs the hair root sitting right there in the follicle.
- Read your device's schedule and skin-tone chart first. Then patch test at your chosen setting and give it 24 hours to see if your skin has any objections.
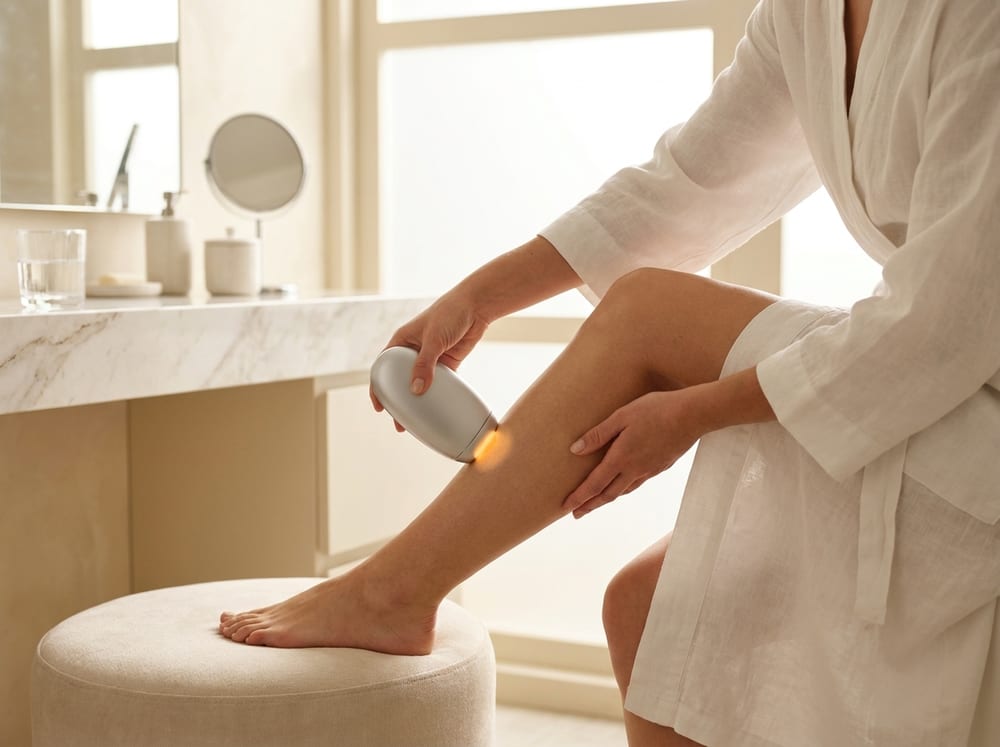
- Eye protection on. Set the intensity for your skin tone, start on the low side, and press the window flat against the skin.
- Work across the area in slightly overlapping placements, one flash per spot. Moles, tattoos, and darker marks get a hard pass.
- Stick to your device's start-up cadence for the first weeks, then taper to occasional maintenance sessions once regrowth thins out.
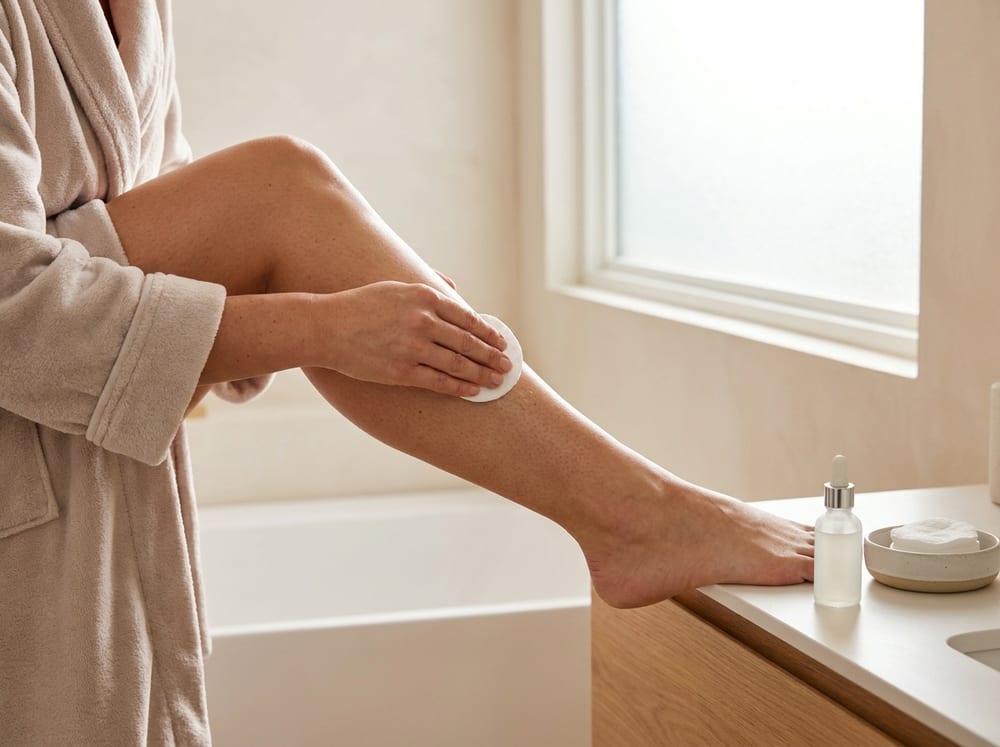
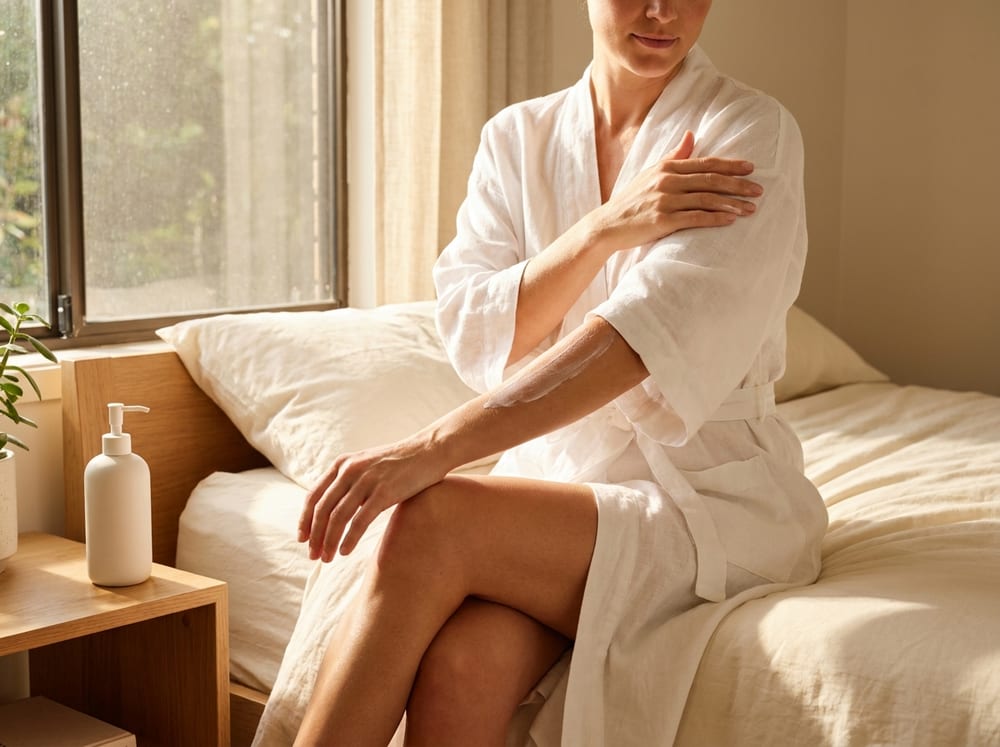
- Afterward: a gentle fragrance-free moisturizer, zero sun exposure, and sunscreen on any treated skin heading out into daylight.
Start on clean, dry, freshly shaved skin, matching the device's intensity to your skin tone using its built-in guide or skin-tone sensor and beginning at a lower setting. Hold the window flat against the skin and work methodically across the area in slightly overlapping placements so you cover the whole zone without gaps or double-dosing one spot. Follow a start-up phase of regular sessions for the first weeks, then taper to occasional maintenance touch-ups as growth thins out.
⚠ Always wear the supplied eye protection and never flash near the eyes or on the eyelids or brow bone. Never treat tanned, sunburned, or freshly self-tanned skin, and avoid recent or upcoming sun exposure, since a darker skin surface competes for the light and raises the risk of burns and discoloration. Do not pass the device over moles, freckles you want left alone, tattoos, permanent makeup, or dark birthmarks, and skip areas of broken, infected, or irritated skin. Always do a patch test at your chosen setting and wait a day before treating a full area, start at a lower intensity, and stop if you get more than mild, brief redness. Home IPL is not suitable for very dark skin tones (higher burn and pigment-change risk) and does little for blonde, red, grey, or white hair. Skip it if you are pregnant, on light-sensitizing medication, or have a skin condition in the area, and check with a clinician first if unsure. This is general education, not medical advice.